Today we will see how create Portlet URL in JavaScript. Some time we have a situation in which we don't want to submit a form but need to send the values of fields from view to controller. In this post we create a text box in which we fill the value and get this value in our controller without submitting any form.
So lets start this Step by Step:-
Step 1:-Create a Basic Portlet
Here i create a project with name fordemo-portlet and then create a portlet HelloWorld in it.
Step 2:-Change your view.jsp
Step 2:-Change your view.jsp
Open your view.jsp and paste this:-
Explanation:-
Here i create two scripts one for link and second for button.You can use any one based on your requirement.
Step 3:-Change your Controller
Explanation:-
Here i create two scripts one for link and second for button.You can use any one based on your requirement.
Step 3:-Change your Controller
Open your java file and paste this:-
Step 4:-Check the output
You can download the source code from here.
Hope this will Help....
Related Post:-
Basic web content in Liferay
Categorization in web content
Structure and Template in Web Content
Fetch Web Content Programmatically
Get Journal Article Using SAX Parser
Form Handling in Spring Portlet
Embedding a Web Content in a Portlet
Fetch Latest Version Journal Article or Web Content in Liferay
Step 4:-Check the output
Deploy your portlet and add the portlet on page:-
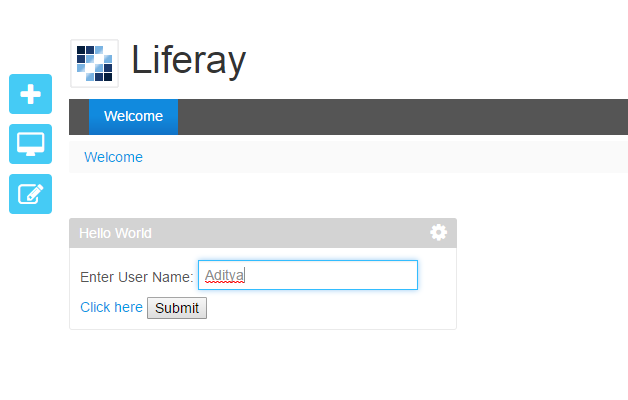 Fill the value in text field and click on Link or Button .The value is printed in console.
Note:- URL created in both the cases is:-
http://localhost:8080/c/portal/layout?p_l_id=10678 &p_p_id = helloworld_WAR_fordemoportlet&p_p_lifecycle=0&_helloworld_WAR_fordemoportlet_userName=Aditya
Note:- URL created in both the cases is:-
http://localhost:8080/c/portal/layout?p_l_id=10678 &p_p_id = helloworld_WAR_fordemoportlet&p_p_lifecycle=0&_helloworld_WAR_fordemoportlet_userName=Aditya
You can download the source code from here.
Hope this will Help....
Related Post:-
Basic web content in Liferay
Categorization in web content
Structure and Template in Web Content
Fetch Web Content Programmatically
Get Journal Article Using SAX Parser
Form Handling in Spring Portlet
Embedding a Web Content in a Portlet
Fetch Latest Version Journal Article or Web Content in Liferay

No comments:
Post a Comment