Today we will discuss how to integrate LDAP(Lightweight Directory Access protocol) with Liferay 6.2 . We already discuss how to integrate facebook with liferay. For LDAP integration we use ApacheDS and JXplorer. So basically we have 3 major steps:-
A)Install ApacheDS .
B)JXplorer .
C)Integration with Liferay .
So lets start this step by step:-
Step 1:-Install ApacheDS
First download ApacheDS from here. Here i am using windows machine so download ApacheDS for windows:-

After downloading just click on .exe file click next and accept licence. In one screen you need to provide java home set this as:-

And click install.
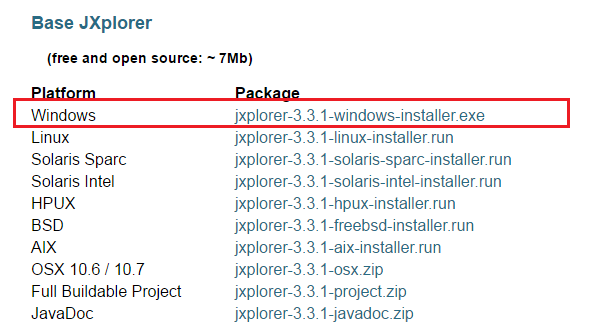
Step 2:-Install JXplorer
JXplorer is used to create user, groups etc by using a simple GUI. So download JXplorer from here .
And install it.
Step 3:-Create User in LDAP
After successfully installation open JXplorer and click on file and then Connect

After that a new window is open provide the following values:-

Host : localhost
Port : 10389
Level : User + Password
User DN : uid= admin,ou=system
Password : secret
For template click on save and provide template name.

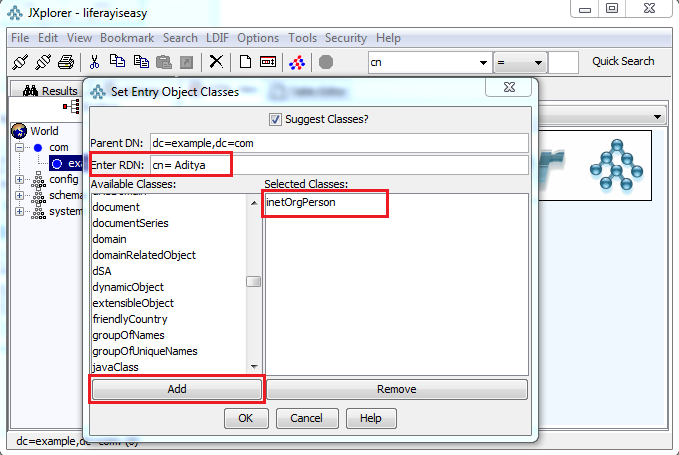
When you click OK a new window is open .Right click on example and than click on New:-

Now provide RDN cn = Aditya and from Available classes add inetOrgPerson and click OK.
Finally provide the following necessary values like sn , givenName , initials , mail , title and password and click submit.

Step 4 :-Integrate with LDAP
Click on Admin-->Control Panel-->Portal Setting-->Authentication
Now select LDAP and Click on Add button

Now provide Server Name and Select Apache Directory Server from Default Values and Click on Reset Values

When you click on Reset values all values are filled automatically.
Test LDAP Connection
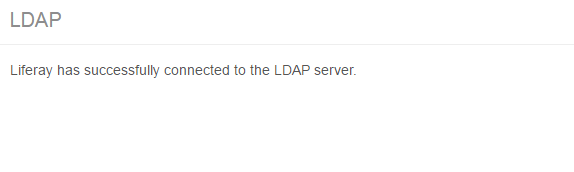
Click on Test LDAP Connection button:-

You will see a window as:-
Click on Test LDAP users button .You will see a window as:-

After this go down to the page and Click Save Button.
Now again go to Control Panel-->Portal Setting-->Authentication
Now select LDAP and Checked Enabled .

Now go down to the page and Click Save

Note:- Don't Forget to click on Save Button when you Add LDAP and when you check Enable button.
Now Logout and login with LDAP user. As soon as you login check database the Aditya user is imported in database.
Hope this will Help....
Related Post:-

No comments:
Post a Comment