We already know each portlet have three modes view, edit and help. In this blog we see Edit mode in detail before reading this blog you must know about Portlet Modes in Liferay.In this blog we use a simple form in edit mode where user can set his preferences that he is Vegetarian or non-vegetarian and on this basis we provide a menu of food items.
So lets start this step by step:-
Step 1:-Create Liferay Project
Inside eclipse IDE Click on File->New->Liferay plugin project and give the project name as edit-mode and click finish.
Step 2:-Create MVC Portlet inside project
Right Click on your project ie edit-mode and click on New than click on Liferay Portlet. Provide class and package name and select MVCPortlet and click next.

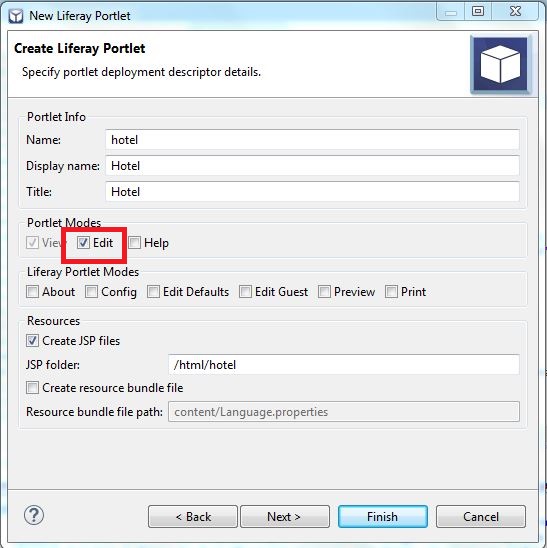
In the next screen check Edit in Portlet modes this will provide the necessary entry in portlet.xml and also create edit.jsp . Now Click Finish.
Step 3:-Modify your edit.jsp
Open edit.jsp and paste this content:-
Explanation:-
Here we create a simple form which contain two radio button .On the submission of form processFood method is called inside the controller.
Note:- As we are not using AUI tags so add required name space parameter is false inside liferay-portlet.xml. For more details you may refer Namespaces parameter in Liferay.
Step 4:-Modify your Controller
Open your java class and paste this content:-
Explanation:-
1)In processFood method we get the foodType value that is submitted by the form in edit.jsp and than set this value in PortletPreferences and finally send the response to view mode.
2)In doView method we get the foodType value from PortletPreferences and set in renderRequest so that it is available on view.jsp.
3)In doView we also check the value of foodType because each time portlet load doView is called .So first time when edit Mode is not called foodType is null .
Step 5:-Modify your view.jsp
Open your view.jsp and paste this content:-
Explanation:-
Here we are get and set foodType in a variable food and check the value and on the basis of value we display the messages.
Note:-
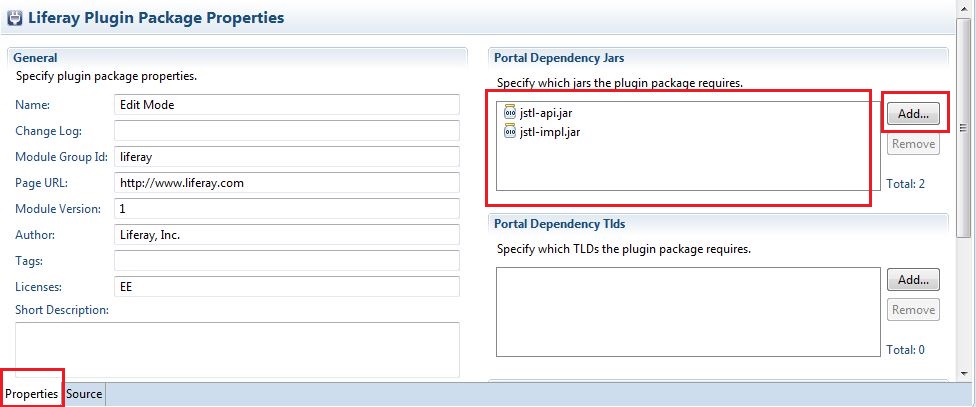
As you see we use jstl tags in view.jsp so we have to include jstl jars inside liferay-plugin-package.properties as:-
Step 6:-Check Output
Deploy the portlet and add on page .Now click on gear icon and click Preferences:-

Now select vegetarian and click submit


Now again click on gear icon than preferences and select Non-Vegetarian and click submit.You will see output as:-

Hope this will Help....
You can Download Source code from Edit Mode in Liferay.
Related Post:-

No comments:
Post a Comment