Liferay Portlet And Services using Maven
Defining Maven in a single line is not possible .Maven do many things for us like resolving dependencies, create project structure, build a project, creating war/jar etc. By using Maven you can also create portlet, theme, services without any need of sdk. Before starting this you have to install Maven and Ant in your machine.So it is highly recommended to read my previous blog How to install Maven and How to install Ant.
Lets Start this step by step:-
Step 1:-Set up liferay-portal-maven
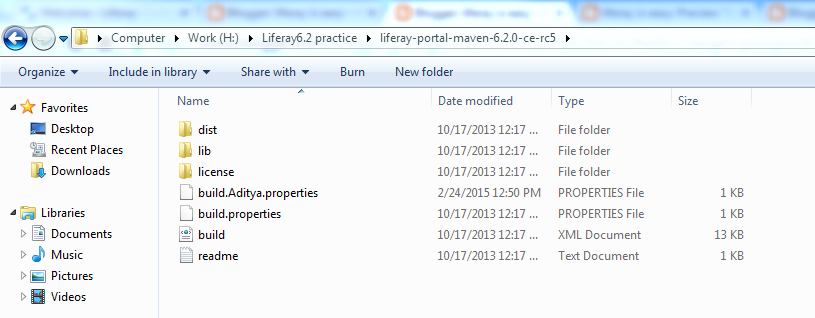
First download liferay-portal-maven from here according to your server version , in my case liferay-portal-maven-6.2.0-ce-rc5 and i am using liferay-portal-6.2.0-ce-rc5 server.
After downloading extract it to a folder and open it . Create a file build.username.properties inside this here username is your Computer name like in my case build.Aditya.properties . Then paste this inside build.Aditya.properties:-
build.Aditya.properties
Then Open command prompt and go to that directory(H:\Liferay6.2 practice\liferay-portal-maven-6.2.0-ce-rc5) and run ant install. This will take sometime because it install many necessary file be sure you are connected to internet.All downloaded files goes to C:\Users\Aditya\.m2.
Note:- Step 1 is one time process next time you can directly create project.
Step 2:-Creating Project
Create a folder in which you want to create your project .Open command prompt go to your folder and run
mvn archetype:generate
This will give you a huge list of archetype, filter it with liferay this will give you are liferay related archetype select liferay-servicebuilder-archetype ie number 10 and press enter.

After this it will ask for archetype version:-

select version you can match the version from C:\Users\Aditya\.m2\repository\com\liferay\portal\portal-impl

in my case it is 6.2.0-RC5 ie select17 enter 17 press enter. After this you have to enter:-
- groupId:- package name in which all your classes is generate.
- artifactId:-Name of project by which war is created.
- version:-leave blank
- package:-leave blank
press y and enter.
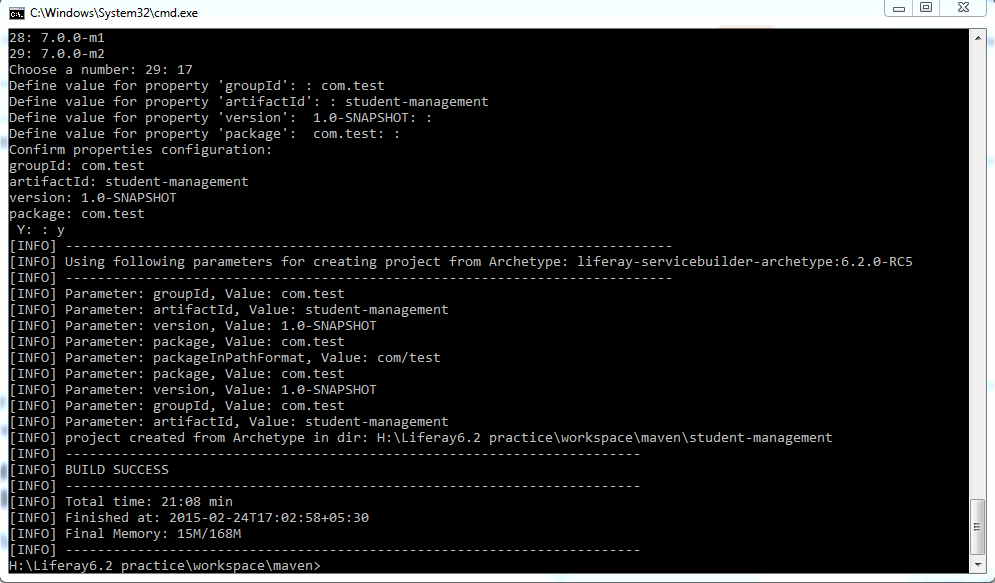
Now go to that folder your project is now created which contain 3 things:-
1)student-management-portlet
2)student-management-portlet-service
3)pom.xml
Step 3:-Provide entries of Deployment in pom.xml
Open pom.xml and provide entries of server after version tag now your pom.xml become:-
pom.xml
Line 11 to 19 <properties> tag provide the information of server and deploy directories.
After this open command prompt and go to that folder where is pom.xml and run command:-
mvn clean install
Step 4:-Create service in Project
Now open this project in eclipse as :-
import->Maven->Existing Maven project
And give the path till parent folder and click finish this will open 3 project in eclipse as:-
1)student-management:- Parent folder we run our project from here
2)student-management-portlet:-This is our main project all service impl classes are here .
3)student-management-portlet-service:- This contain only service classes but not impl classes.
Open service.xml from student-management-portlet inside web-inf and paste your services .For detail explaination of service.xml you can refer my blog Service builder in Detail
service.xml
Open command prompt go to folder where pom.xml of parent is and run command:-
mvn clean liferay:build-service
This command will generate all the service .Refresh both projects.

Step 5:-Create Portlet in Project
Now open student-management-portlet create a package inside src/main/java and inside that package create your controller class and paste this content:-
StudentController.java
Then create a folder html/student inside webapps and create your view.jsp .
view.jsp
then provide corresponding entries in of portlet class and init-param in portlet.xml .
portlet.xml
After this provide entry in liferay-display.xml.
liferay-display.xml

Step 6:-Deploy your project
Open command prompt go to folder where your parent pom.xml and run command:-
mvn clean compile package liferay:deploy
This will deploy your project on server you can see your war file in target folder(..\student-management-portlet\target).
Thats it open your browser and hit localhost:8080 and just put your portlet on page and see tomcat console your service is call sucessfully.
You can download source code from Creatin portlet/Services with maven
Hope this will help....
Related Post:-
Liferay Service Builder in Detail
How to install Maven
How to install Ant

Buen tutorial,Muchas gracias .
ReplyDeleteThanks.For further tutorials you canjoin the blog
Delete